Implement Location Picker like Ola and Uber in Android Effortlessly
August 9, 2021 by Atul Sharma


We all come across applications or ideas where we may want users to pick or select their location from maps. From a UX perspective, it is more convenient to pick a location than to manually enter the fields given.
Also, from the developer’s perspective getting user location with pinpoint accuracy helps in getting the job done as required concerning location more precisely.
So, how to implement it?
Well, it’s quite easy, you just have to call a few Google Maps APIs, set up location permissions precisely, and create your layout for location picker and that’s all!!!
But reading the points above may seem like much, but if you follow all the steps below concisely, your implementation will work like a charm.
To add Google Maps to our Application we need the API key, to get yours refer to this blog on Android Google Maps Integration.
Although some of the permissions part may look longer, but whenever we are dealing with location, we must consider all the corner cases, that can happen or occur and satisfy every permission as Location is considered one of the sensitive permissions (so you must bear with it ☹).
Step 1:
Add the API key to your Manifest file. Here I have stored my key as a string resource, you can choose your own method of storing the API key.
Then add the following dependency to your App-level Gradle file.
Step 2:
Let’s create our UI to show our Location Picker.
We will inflate this layout in a dialog, so we don’t have to take the user to a different activity or fragment.
Step 3:
Let’s start by calling this function from the onClick event of the button to pick the location.
In the upcoming steps, we will implement all the functions we called above to bring everything coordinated.
Step 4: Setting Up permissions
We will implement this step in three parts, for the ease of readers.
4.1

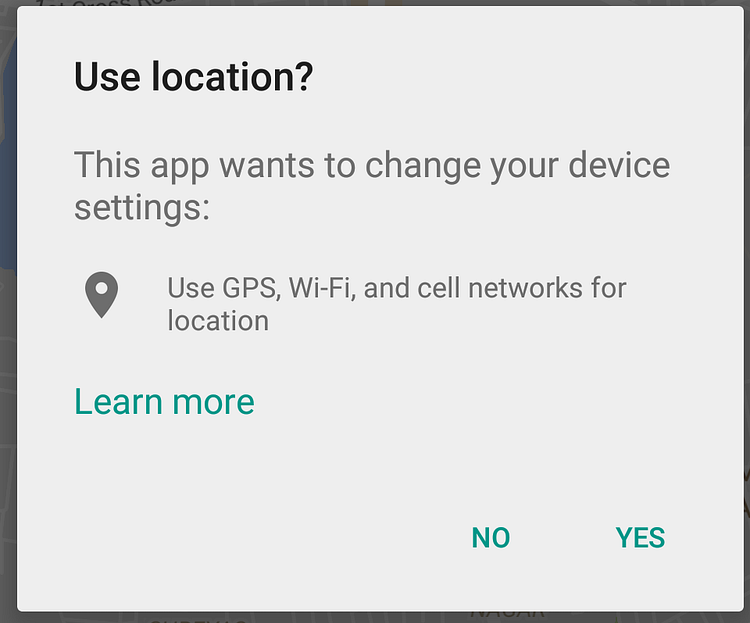
To fetch location of the user device, check if GPS is enabled and if not show a prompt message to enable GPS.
The prompts look something like this.
Let’s implement this for our app.
4.2
Now, that we have location access we will check if device already has any previous location stored and if not, we will fetch this beforehand to show it in our picker.
4.3
Here, we check about every other location permission is enabled or not i.e. manifest or device before proceeding ahead.
Step 5:
We shall override two methods to get the callback of permissions.
Step 6
Let’s set up our dialog to show Picker and save location.
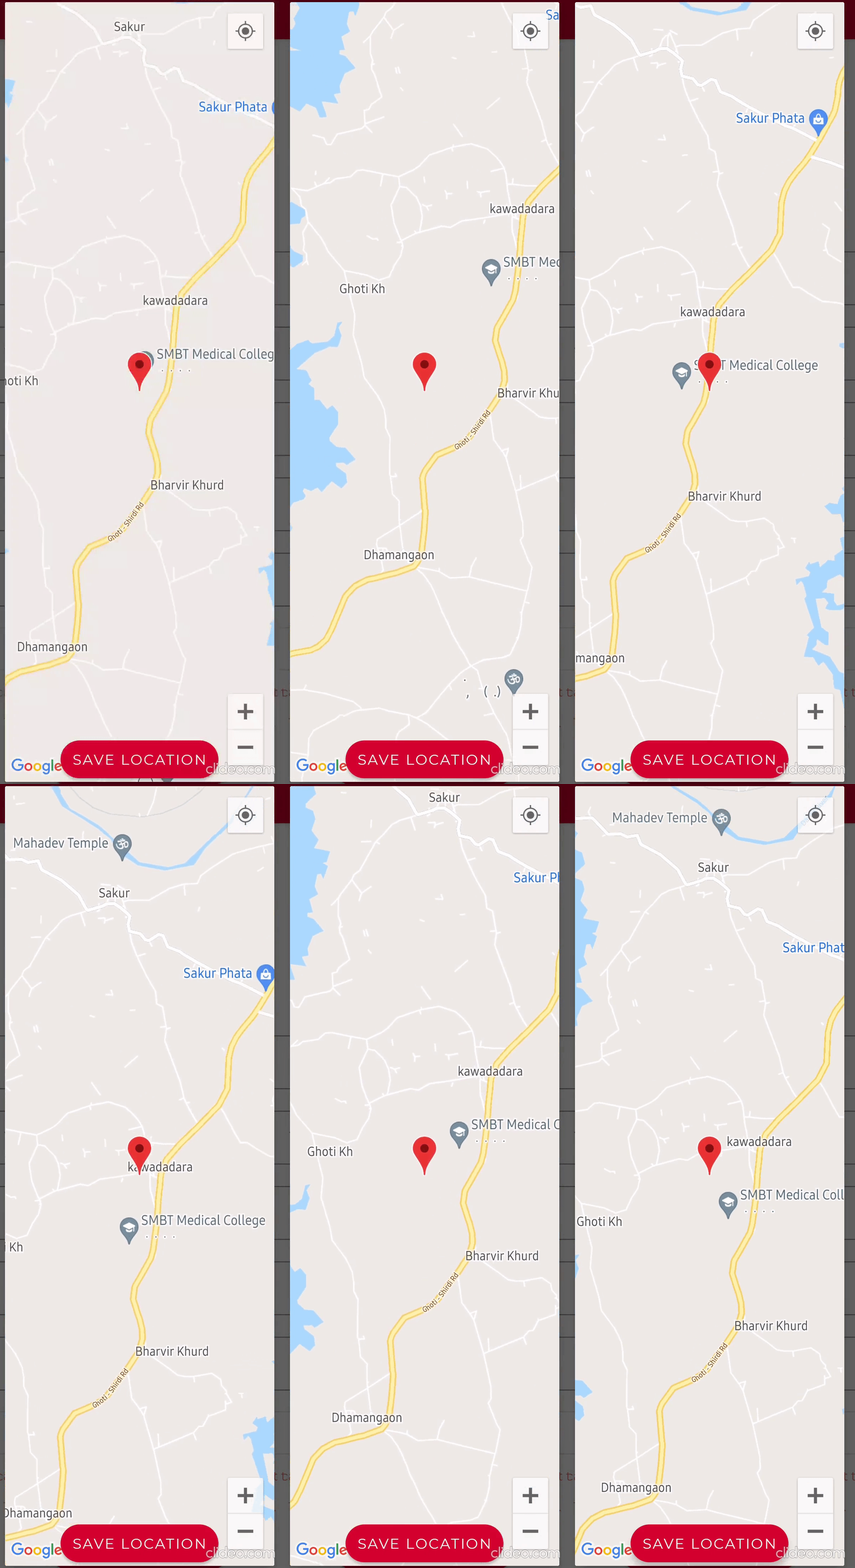
The preview would look like this.

Here you get the latitude and longitude of the user location, and you can do whatever operation you want to perform with it.
Dialog had been inflated using
***View binding***a library of Jetpack. Read more about it here.
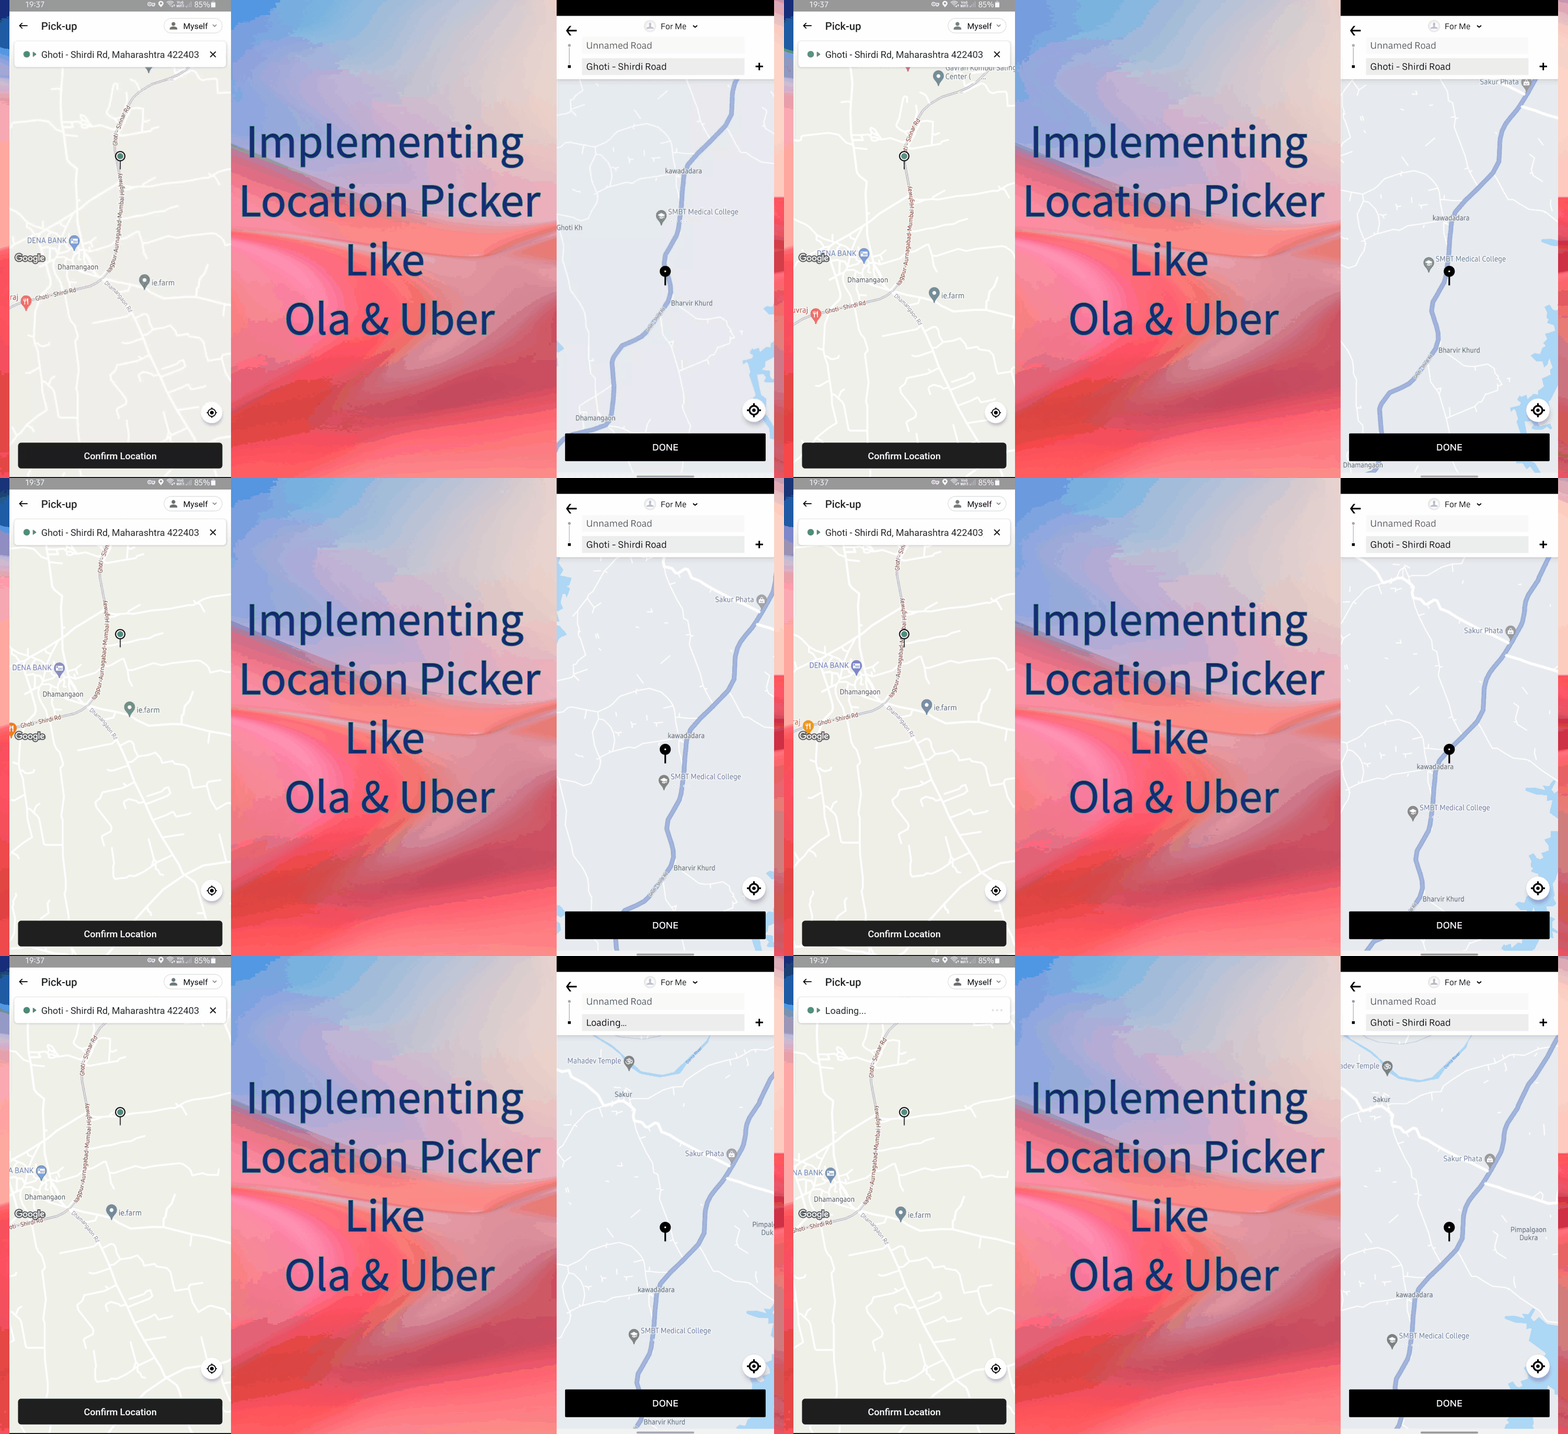
In Left, we have the demo of what we have written code for above.
Now that we have Geo Points, how to get the address from it?
From a developer’s perspective saving geo points is more efficient and working with it to track or measure distance for a point.
BUT a user will never understand what those numbers mean or if they selected their right location on the map.
So, this is a problem! ☹
How to accommodate both developers and users, without having data redundancy?
Fortunately, Google help us solve this problem with its GeoCoding API, which gives us the location or address from Geo points, which can be stored in a string and shown to the user.
Below is the implementation:
There are many methods for GeoCoder class to get road, city, country, zip code, etc. You can read more about its method here.
Here, you can get a
NULLPOINTERif you select your location somewhere in Sea, Rivers, Lakes while getting address and you should handle that case separately by checking if the size ofaddressesisn’t less than 1.
Hope it helped. Happy Coding 😀
Connect with me on GitHub and LinkedIn, if you like to build some cool apps.
